In a world of sparkling treasures, organizing your jewelry becomes an art form. Say goodbye to the chaos of tangled necklaces and mismatched earrings – it’s time to embark on a creative journey into the realm of DIY jewelry organizers. Transforming everyday items into stunning displays for your cherished accessories not only declutters your space but adds a personalized touch to your decor.
The Charmed World of DIY Jewelry Organizers Jewelry, with its myriad of shapes, colors, and textures, deserves to be showcased in a way that not only preserves its beauty but enhances the aesthetic of your space. Enter the magical world of DIY jewelry organizers, where functionality meets creativity, and each piece tells a unique story.
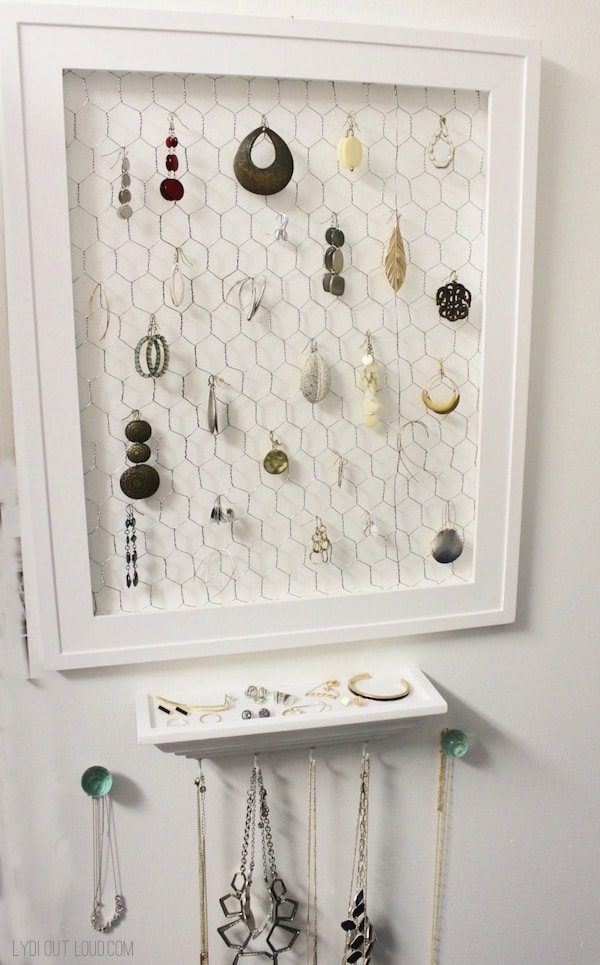
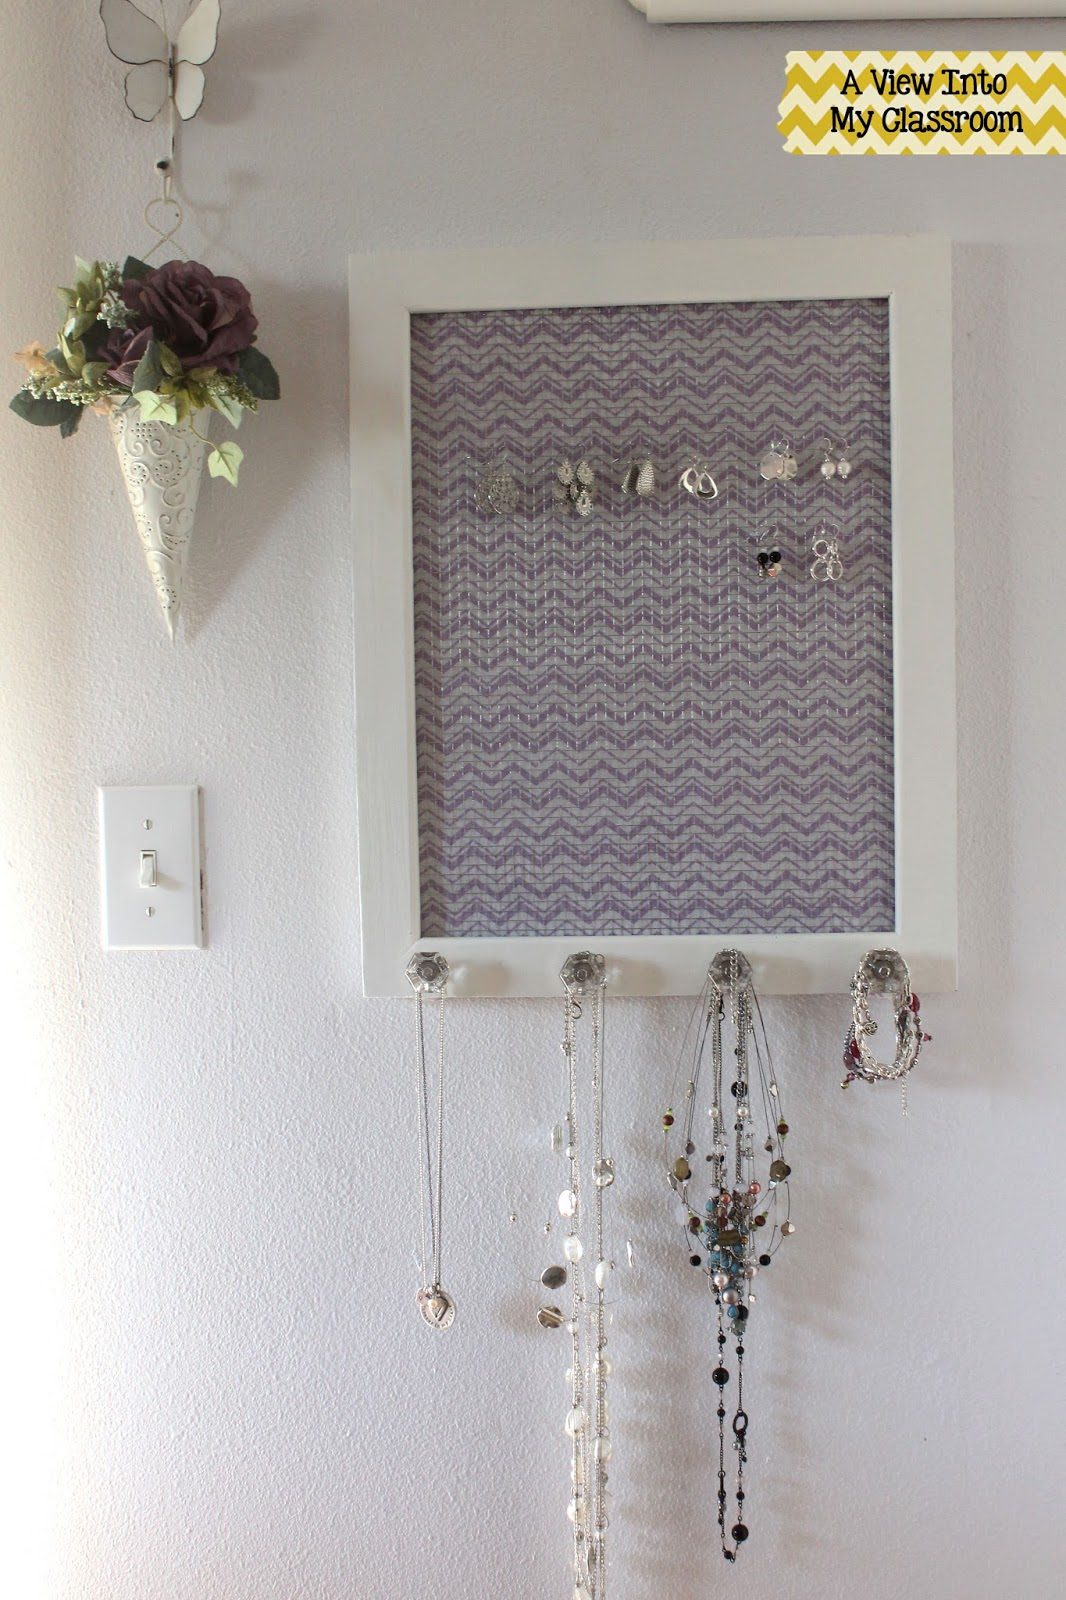
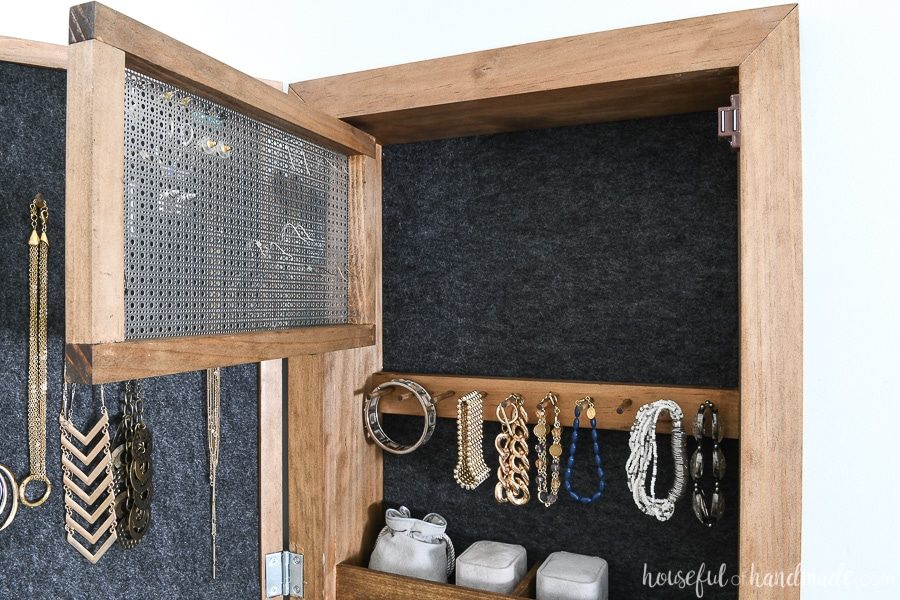
Section 1: The Whimsical Frame Organizer Imagine turning an old picture frame into a whimsical masterpiece that doubles as a jewelry organizer. Choose a frame that resonates with your style – vintage, modern, or eclectic. Paint it in a vibrant hue or leave it au naturel for a rustic touch. Attach hooks, knobs, or even repurposed drawer handles to hang your necklaces and bracelets. Insert a mesh or corkboard to pin earrings and brooches. Voila! You’ve just crafted a personalized jewelry haven.
Example: Picture a vintage frame painted in a soft pastel adorned with mismatched vintage knobs. A perfect blend of nostalgia and functionality.

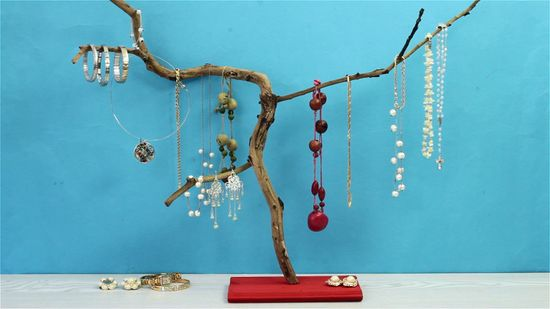
Section 2: The Tree Branch Jewelry Stand Nature-inspired and utterly charming, a tree branch jewelry stand adds a touch of whimsy to your vanity or dresser. Find a sturdy branch, clean it, and paint it in a color that complements your decor. Place it in a decorative pot filled with stones or sand for stability. Hang your necklaces on the branches and let your earrings dangle delicately. It’s a splendid DIY project that brings the outdoors inside.
Example: Imagine a white-painted branch adorned with delicate gold and silver necklaces, a miniature tree embodying the essence of natural beauty.

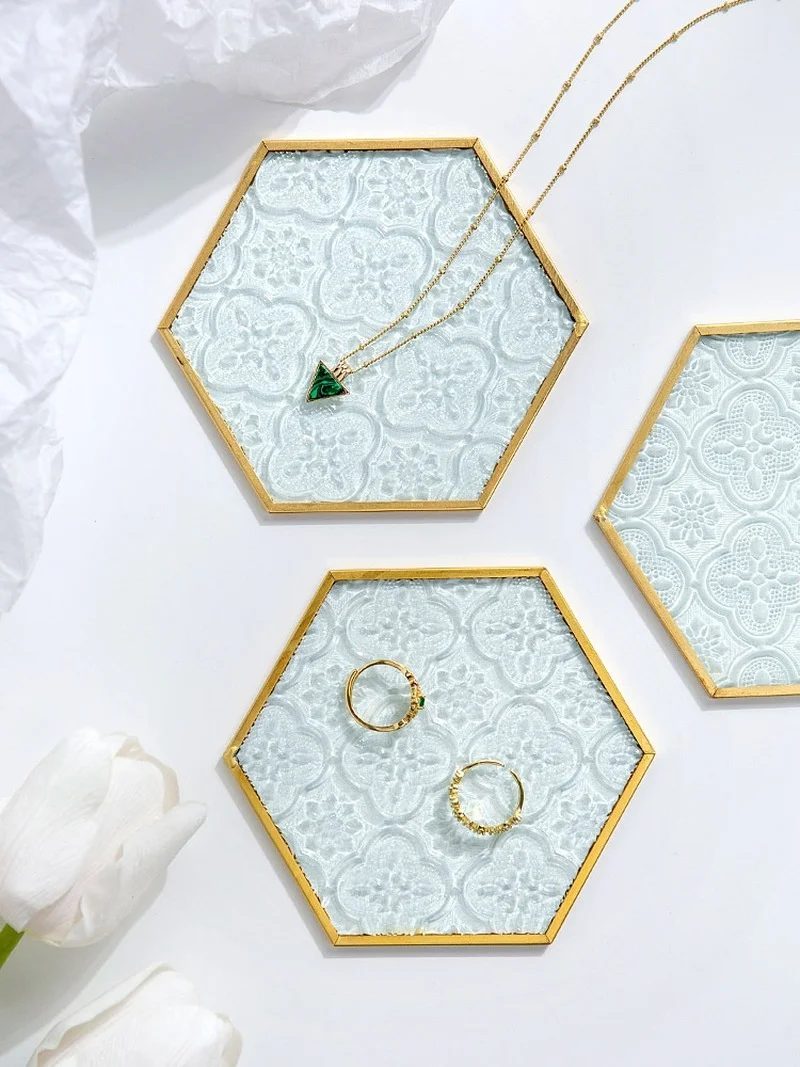
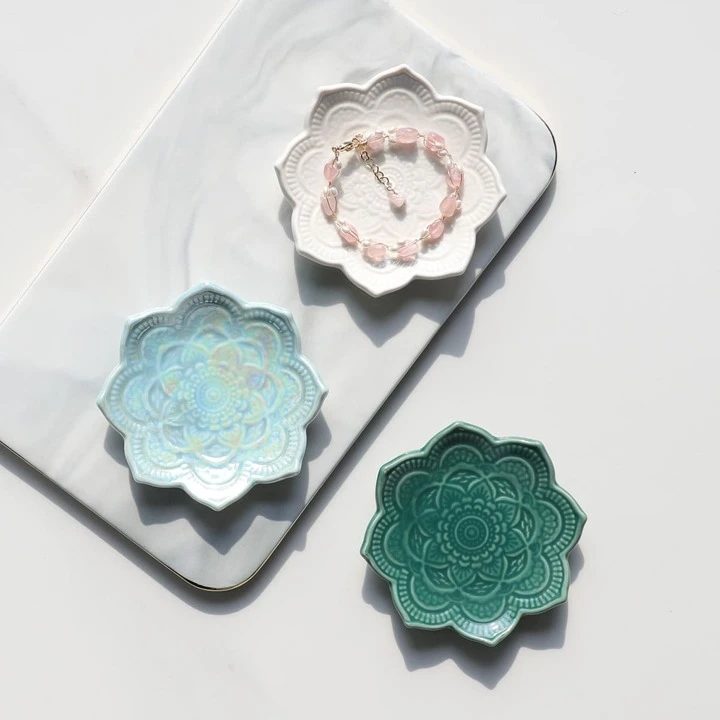
Section 3: The Vintage Saucer Display Turn vintage saucers and teacups into charming jewelry displays. Hunt for unique pieces at thrift stores or unleash your creativity by mismatching patterns and colors. Glue saucers atop teacups to create tiered displays. Arrange rings on the saucers, and use the cups for bracelets or chunky necklaces. It’s a delightful blend of vintage elegance and practicality.
Example: Envision an eclectic mix of floral-patterned saucers and teacups showcasing an array of vintage rings and bracelets – a true tea party for your jewelry.
Section 4: The Magnetic Makeup Board Jewelry Organizer For a modern and space-efficient solution, repurpose a magnetic makeup board into a chic jewelry organizer. Cover the board with decorative fabric or paint it to match your style. Attach small magnetic containers to hold earrings and pins. Add hooks or small shelves for necklaces and bracelets. Hang it on your wall, and your jewelry becomes both an organized display and a stylish piece of wall art.
Example: Picture a sleek black magnetic board adorned with metallic containers, showcasing an array of minimalist jewelry – a fusion of function and contemporary aesthetics.
Conclusion: Crafting Memories with DIY Jewelry Organizers In the realm of DIY jewelry organizers, the possibilities are as limitless as your imagination. These projects not only declutter your space but transform everyday items into functional works of art. The joy of crafting your jewelry organizers lies in the process – a delightful journey of self-expression and creativity. So, roll up your sleeves, gather your materials, and let the magic unfold as you craft a personalized haven for your cherished treasures. Your jewelry deserves more than hidden drawers; let it shine as a testament to your creativity and style.